Digimon Continue to exist‘s tenth half on the Enraged Route continues from the bitter lack of Saki in the old chapter, exhibiting us a leer of the Grasp talking with a familiar face, who comes to the table with a chilling offer.
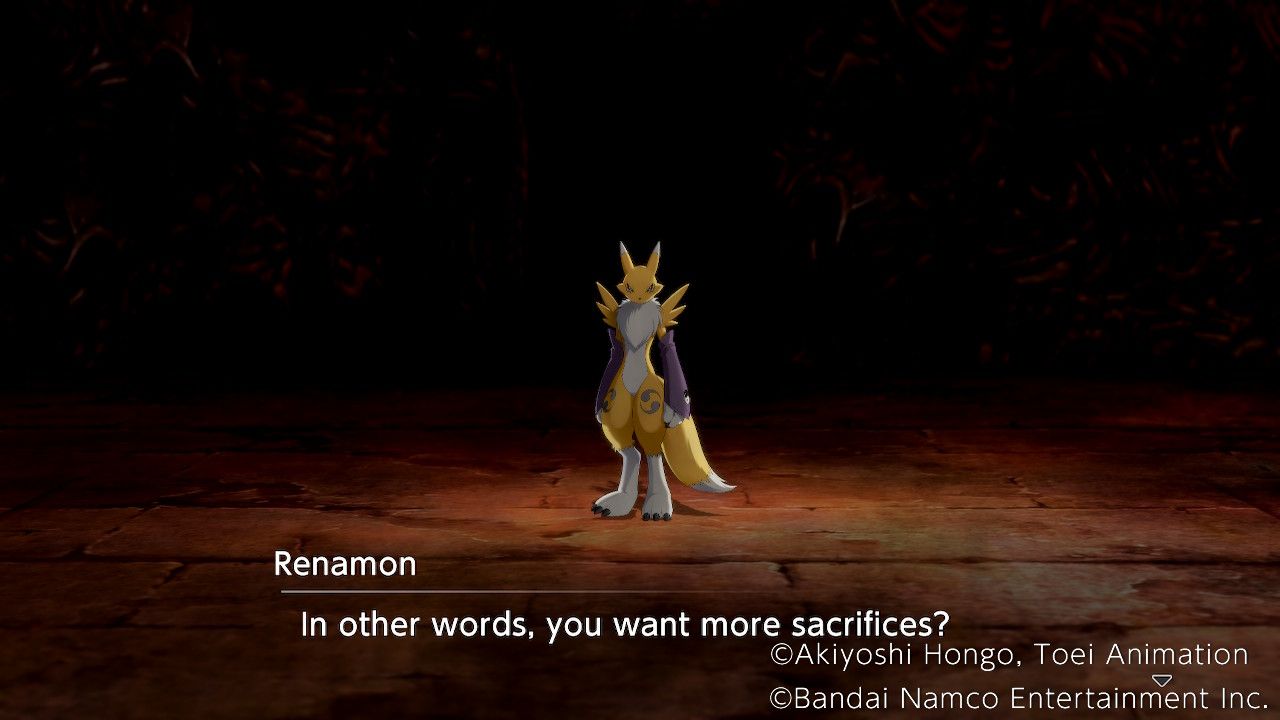
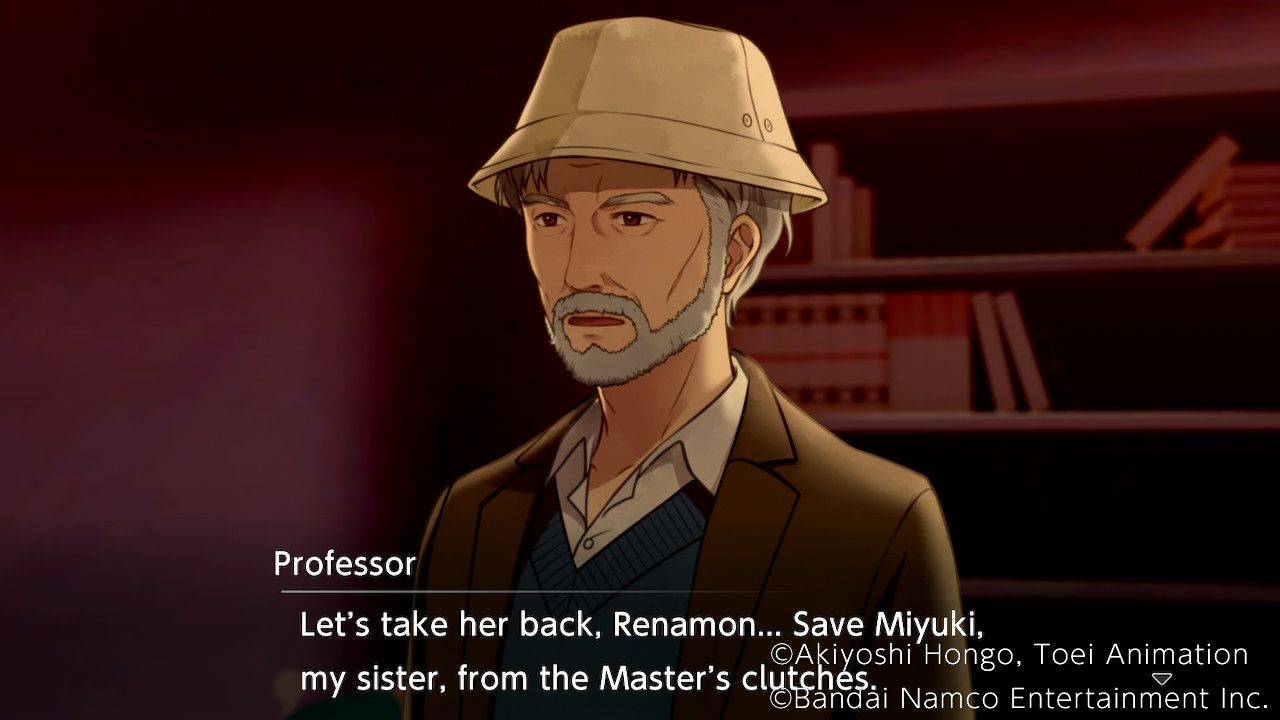
On this half of Digimon Continue to exist, we start with Renamon providing to raise the Grasp sacrifices in commerce for Miyuki, an offer they take grasp of into memoir for a moment. The Grasp agrees to present up Miyuki once its desire is fulfilled, as prolonged as Renamon serves them.
Introduction
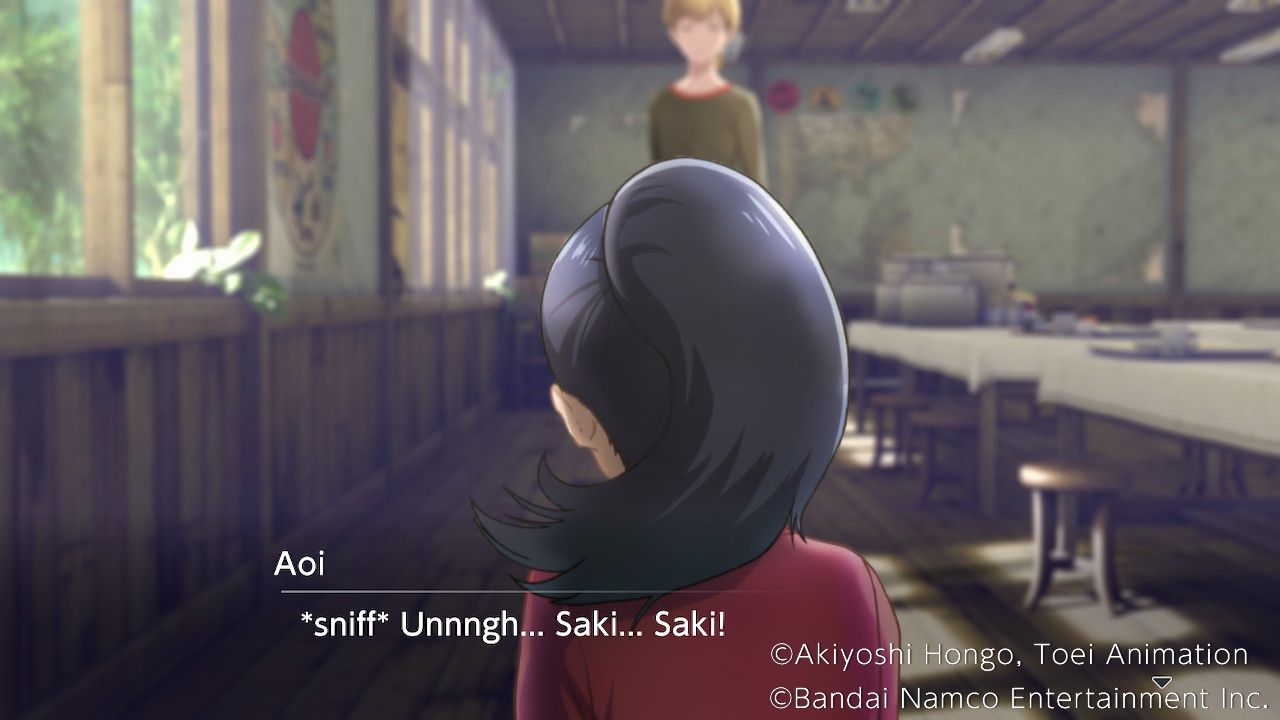
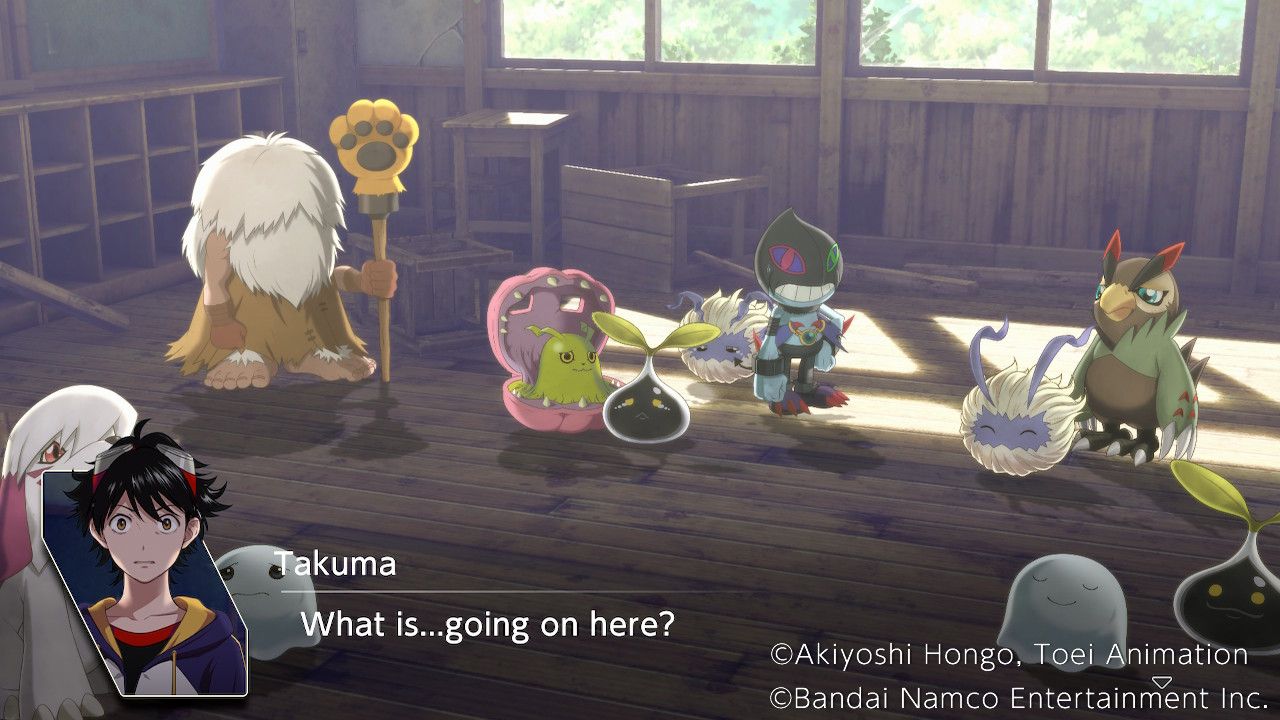
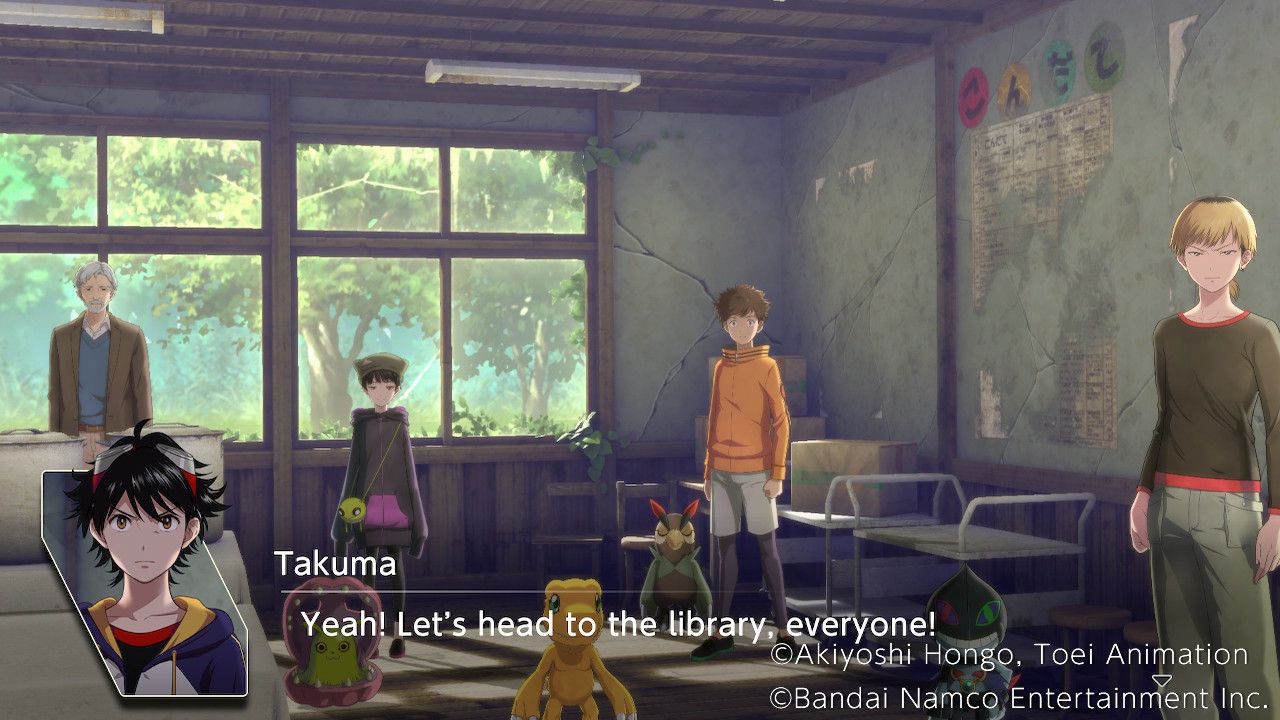
Avid gamers are now proven that Takuma and the others absorb introduced the survivors from the Amusement Park to the College, where Agumon is struggling to take care of all of them. Aoi is taking the lack of Saki in particular worrying and doesn’t respond to someone. Takuma’s rousing speech gets the others out of their funk, but unfortunately, Aoi takes it badly and leaves to stretch her legs.
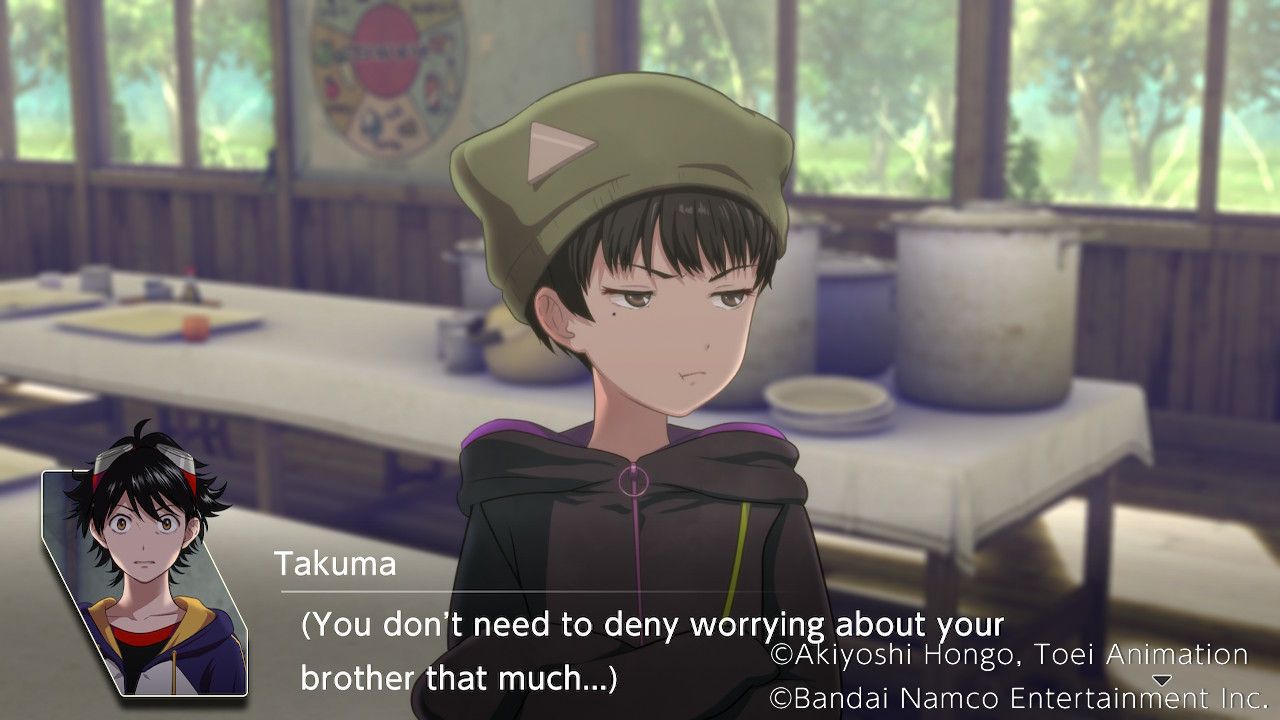
The following dialog between her and Takuma unearths that she blames herself for Saki’s loss of life and Takuma is provided a dialog replacement.
|
We’re all to blame. |
Appropriate +1 |
|
Or no longer it is no longer your fault. |
Cohesion +1 |
|
Saki will no longer attain reduction. |
Enraged +1 |
Irrespective of Takuma’s replacement, the game now progresses to Free Motion.
Free Motion
During this Free Motion gamers absorb 7 strikes to enlighten.
Free Battle
The College Condominium Free Battle gives opportunities to fight Marinedevimon, Arukenimon, Dokugumon, Diatrymon, and Crowmon. The Forest Condominium gives potentialities to fight Garudamon, Bluemeramon, and Etemon.
Old College
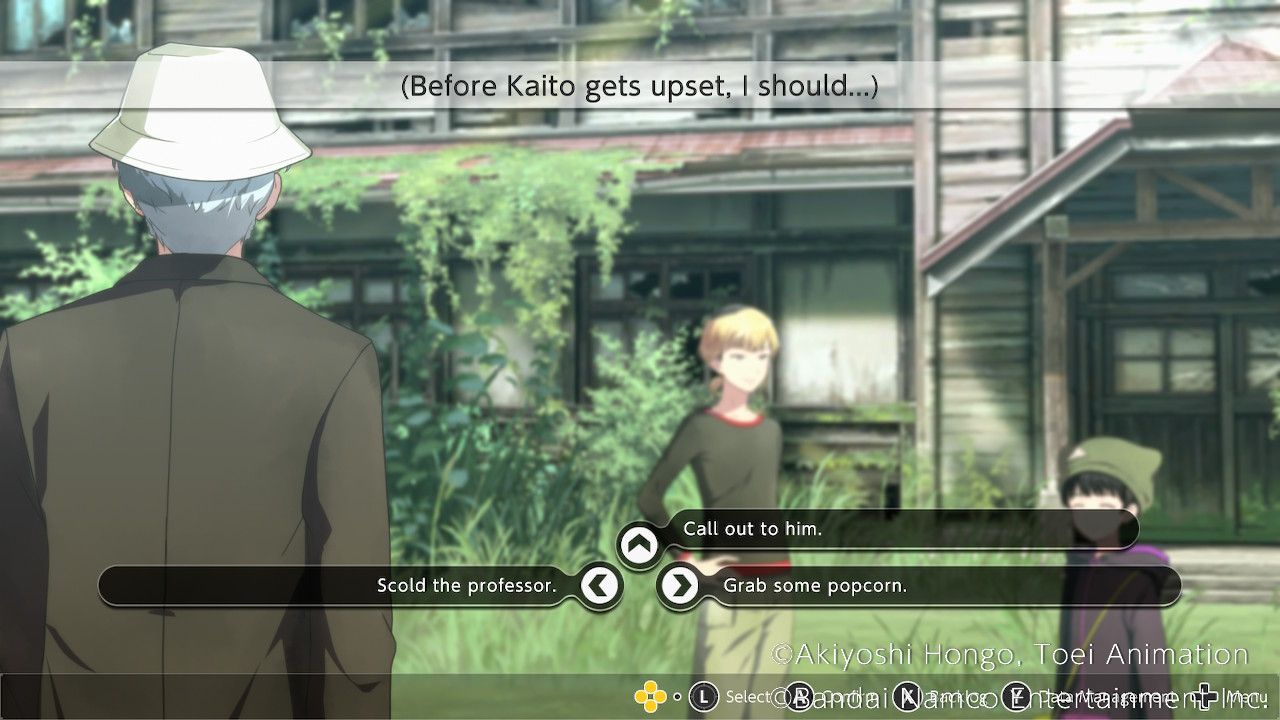
Kaito might well well even be found here, and Miu will point to up once he’s spoken to, seeming understandably upset and skittish. Kaito reaffirms that he’ll protect her, and she thanks him for making an strive to cheer her up. Forward of prolonged the Professor appears too, and Takuma worries that Kaito will salvage offended if he sees the Professor searching at them, so Takuma has to assemble a resolution.
|
Scold the professor. |
Kaito Affinity Up! |
|
Grab some popcorn. |
No Develop. |
|
Call out to him. |
No Develop. |
Hall
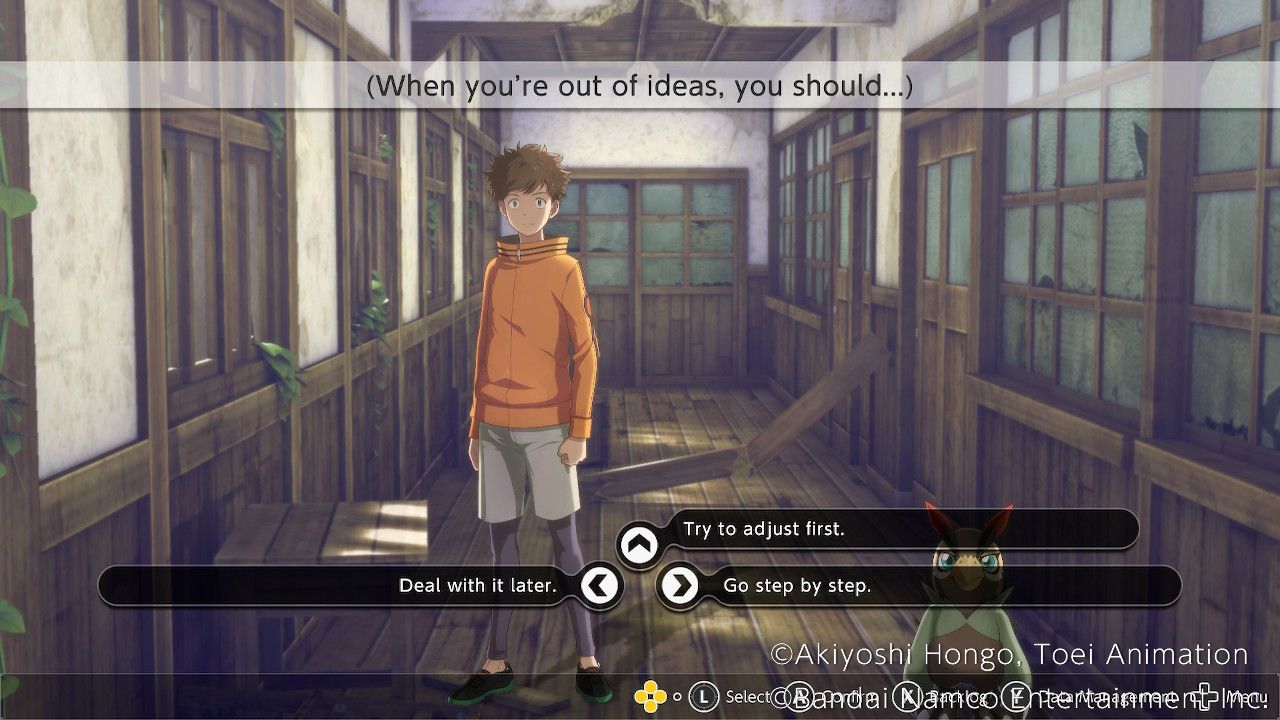
Minoru and Falcomon are here. Minoru is having grief sorting his thoughts and pushing forward, given contemporary events. Falcomon asks Takuma and Agumon their belief.
|
Take care of it later. |
No Develop. |
|
Strive to adjust first. |
No Develop. |
|
Shuffle grade by grade. |
Minoru Affinity Up! |
Cafeteria
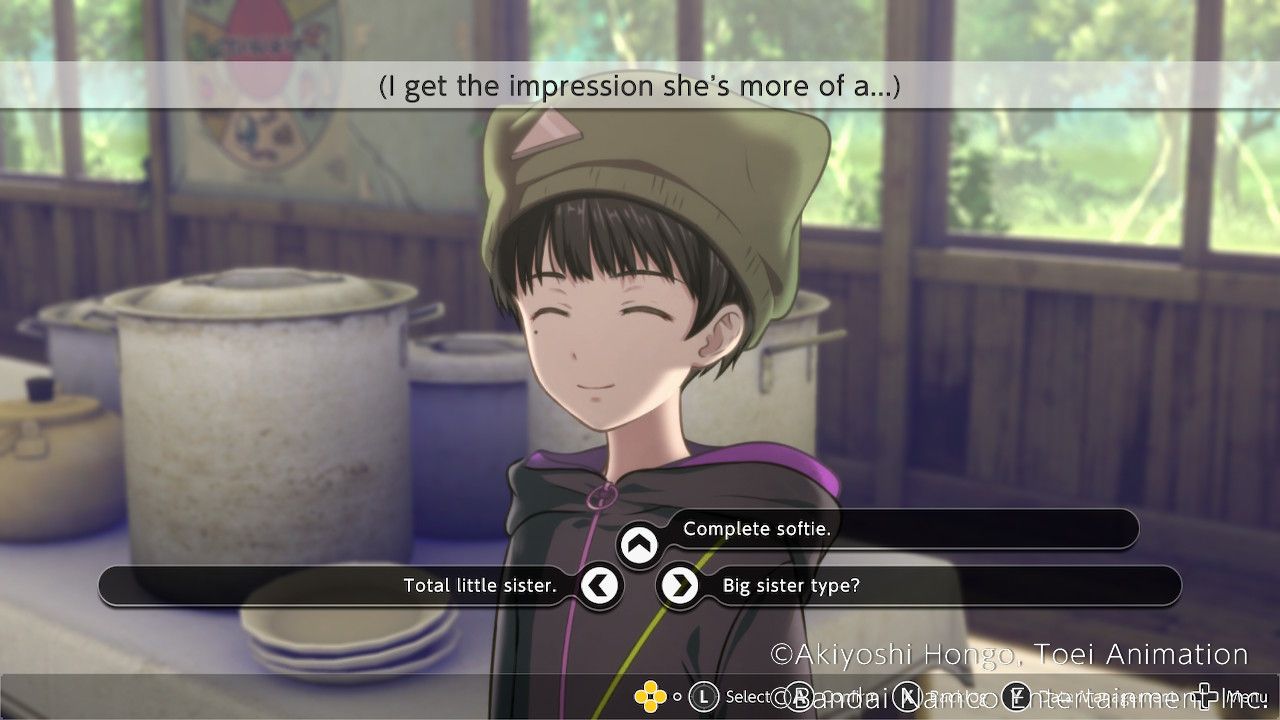
Miu, Syakomon, and Agumon might well well even be found here. Chatting with Miu shows she’s taking accurate care of the kids from the Amusement Park, even though she’s a little bit embarrassed that Takuma observed her first and most major, and Syakomon says she’s love a Mountainous Sister.
|
Total little sister. |
No Develop. |
|
Mountainous sister form? |
No Develop. |
|
Total softie. |
Miu Affinity Up! |
Chatting with Agumon has him interrogate what is necessary to Takuma.
|
My associates? |
Appropriate +1 |
|
World peace? |
Cohesion +1 |
|
My beget lifestyles? |
Enraged +1 |
Agumon additionally gives Takuma a Vexing Alacrity Crystal after this dialog.
Health club
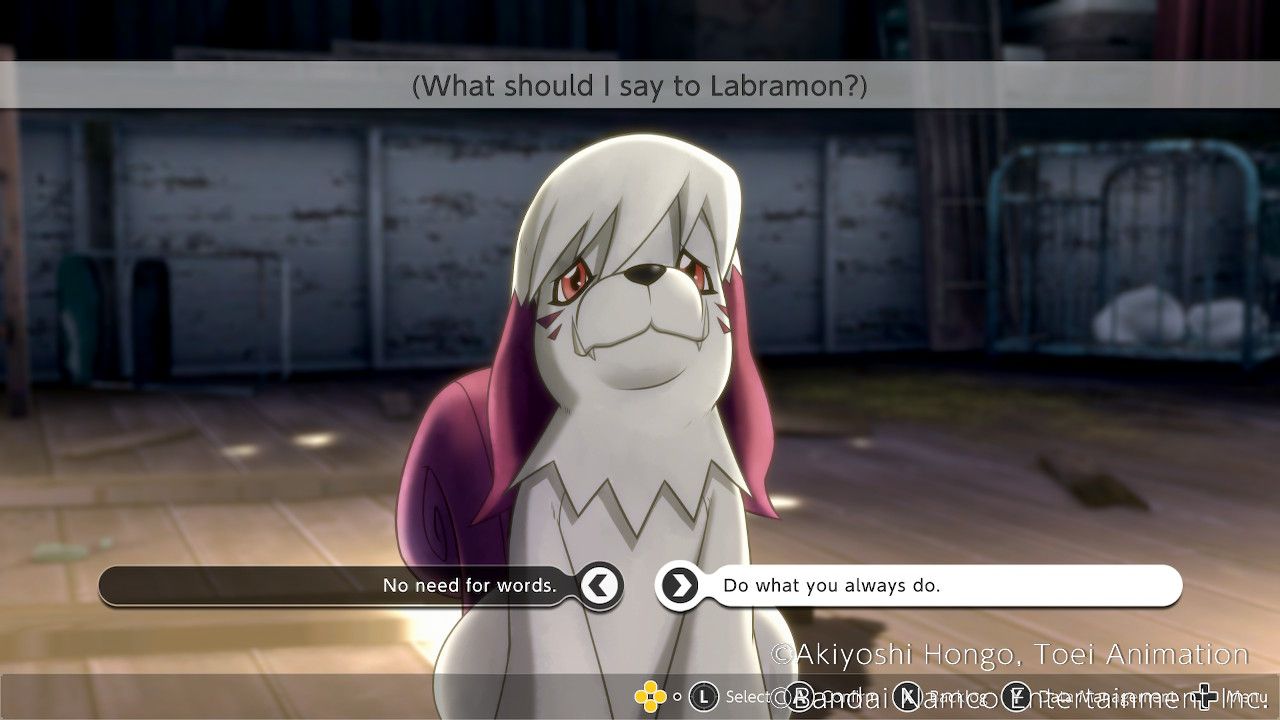
Labramon is on my own on the Health club, skittish that she is no longer being precious to Aoi and making an strive to mediate of a technique to reduction her.
|
No need for phrases. |
Aoi Affinity Up! |
|
Attain what you continually make. |
No Develop. |
Cafeteria 2
After the usage of up four strikes gamers will don’t absorb any replacement but to switch to the Cafeteria, where Aoi and Kaito might well well even be found. Kaito tries to comfort her and reminds her that it modified into once Saki who let race of Aoi’s hand, no longer the more than a few skill around. Aoi refuses to give it some belief, and Kaito keeps making an strive to salvage her to love, even though finally she falls apart.
Compare room
Minoru might well well even be found here with Falcomon and the kids from the Amusement Park. He is been taking notes from Miu on how one can deal with them and Agumon desires to hear in as he tells them a story.
|
I will pass for now. |
No Develop. |
|
No kid stuff for me. |
No Develop. |
|
Why no longer hear a little? |
Minoru Affinity Up! |
Cafeteria 3
Miu and Syakomon are in the Cafeteria again, where Miu is effectively no longer skittish about Kaito, no longer of project.
|
I’m hoping he behaves. |
No Develop. |
|
No might well well absorb to mute worry. |
No Develop. |
|
Someone would apprehension. |
Miu Affinity Up! |
Woods By College
Agumon and the Professor are each here. Chatting with Agumon doesn’t worth an Motion and can point to one thing in the grass, which gamers can then make a selection out to salvage Tentomon, Gomamon, and Palmon. Head to the Shrine, Internal Shrine Ext, or Spider Lily Forest to proceed this discipline thread. Chatting with the Professor doesn’t worth an action both, but doesn’t point to one thing else contemporary.
Shrine
Focus on to Agumon here after talking to him on the Woods By College to salvage Tentomon. Advise “We Don’t Are making an strive to Battle” to trigger a fight anyway and fight an Okuwamon, Dinobeemon, Tentomon, and Megakabuterimon. There is a chest on this design that contains a Beautiful Anti-Wind Crystal. Advise “Don’t be alarmed.” to recruit Tentomon and steer certain of the fight fully.
Internal Shrine Ext.
Focus on to Agumon here to in finding absolutely nothing and waste an Motion.
Spider Lily Forest
Focus on to Agumon here to salvage Gomamon. “Establish apart on a tricky act” to arouse him and trigger a fight with Mermaimon, Zudomon, Gomamon, and Megaseadramon. The chest here contains a Beautiful Anti-Light Crystal. “Focus on with Kindness” enables gamers to as a replace recruit Gomamon.
Woods By Shrine
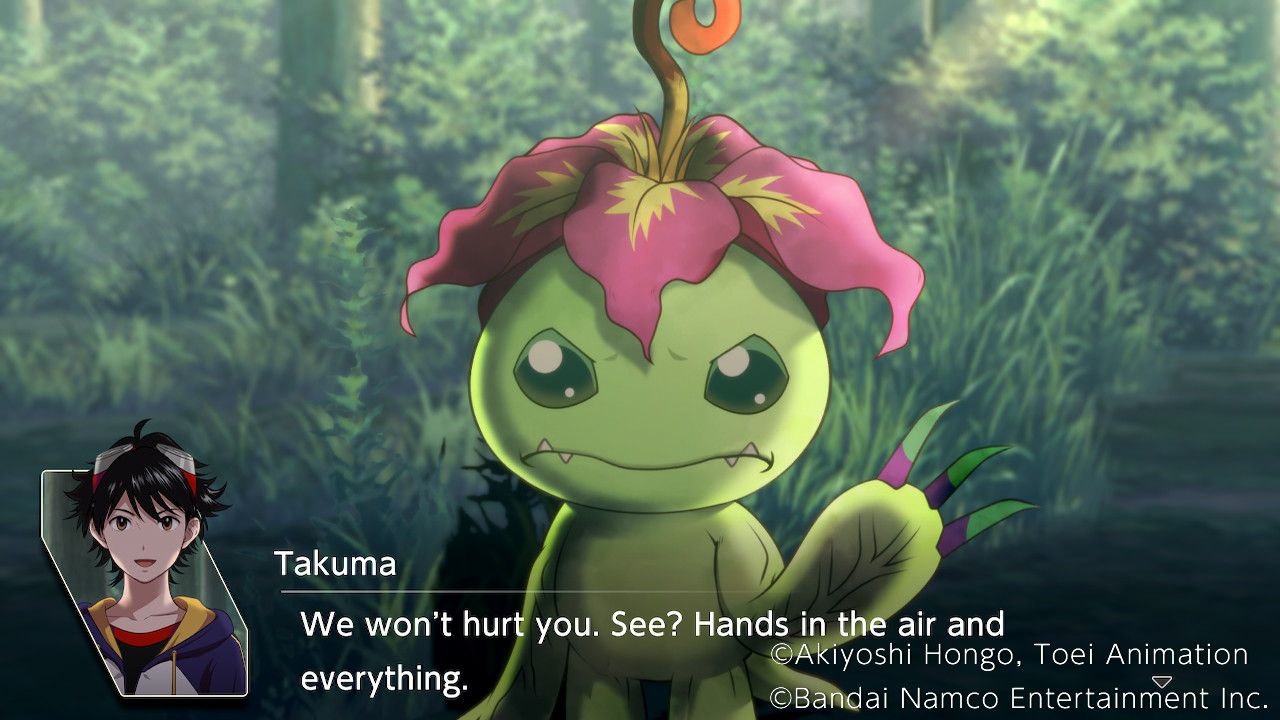
Focus on to Agumon here to salvage Palmon. “Drive it Off” to fight Blossomon, Deramon, Palmon, and Lilymon. A chest containing a Beautiful Potency Crystal might well well even be found here. “Wave a white flag” to recruit Palmon and steer certain of beginning a fight.
The Fable Continues
We rejoin the Professor and learn that he has found a brand contemporary constructing deep throughout the wooded discipline that surrounds the faculty. Meanwhile, Aoi wanders the woods as Kaito and Labramon prepare silently. Saki’s loss of life hit worrying, and Aoi is clearly no longer doing effectively, but sooner than Aoi can salvage her thoughts off her chest Haru appears in the distance. Aoi chases him deeper into the woods, certain to effect someone this time, and Kaito runs reduction to the College to repeat the others what is going down.
Arriving on the Cafeteria, Kaito explains what took space and tells the team where Aoi went, causing the Professor to illustrate that they were headed in the same route as the contemporary constructing he found: a library. The likelihood of this being a lure is introduced up, but there’s little replacement but to switch for the library regardless:
|
“Explore the Library.” |
Appropriate +1 |
|
“Establish Aoi and Labramon.” |
Cohesion +1 |
|
“Walk after Haru.” |
Wrath +1 |
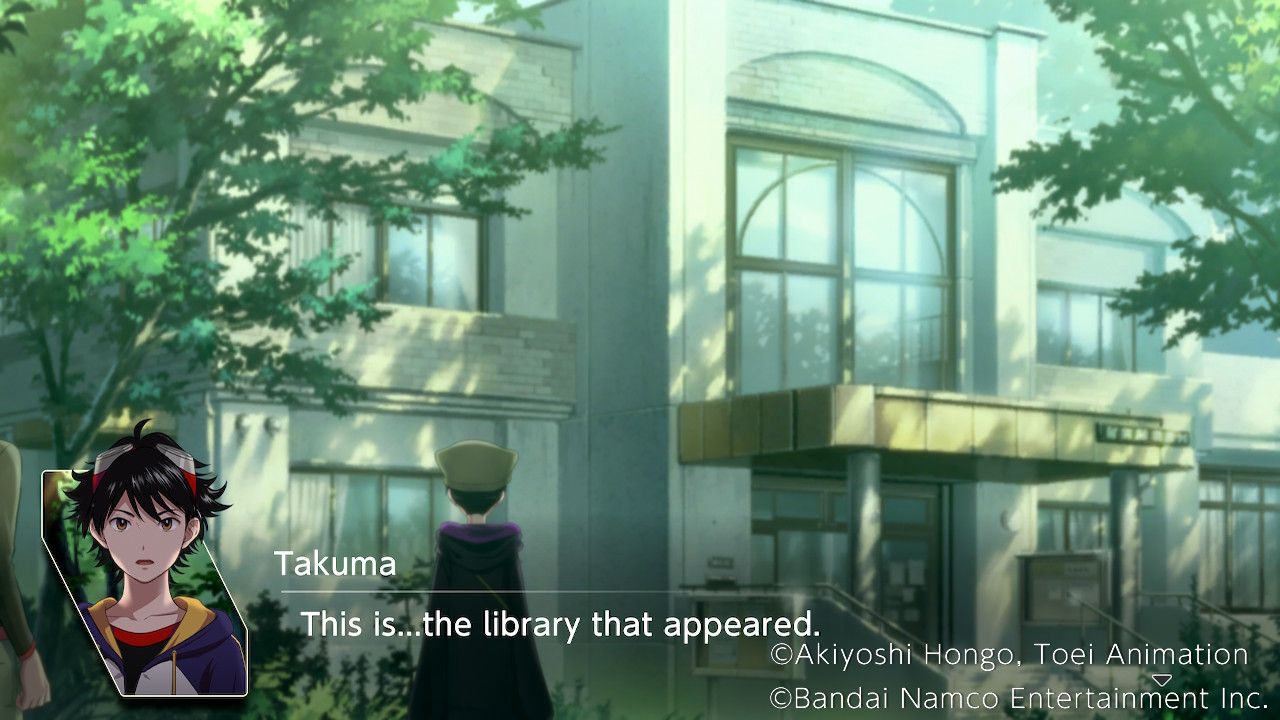
Aoi arrives on the Library, noting that it appears to be the same to the one reduction in our space of birth. She rushes in, alive to to effect Haru, with Labramon sizzling on her heels. Saki appears in the library, telling Aoi how much she desired to are residing and asking why Aoi did no longer effect her. She asks Aoi to prepare her, announcing it is no longer magnificent that handiest Aoi modified into once able to outlive. Aoi steps in opposition to her as the scene adjustments, while Labramon begs Aoi no longer to tumble for this lure.
Support with the team, they in finding Renamon and learn that they strongly disfavor the Professor. Renamon plans to sacrifice your total team to the Grasp in commerce for Miyuki, blaming their arrival for Miyuki’s capture. The Kenzoku strategy, known as by Renamon, and a fight begins.
Battle: Kyubimon and the Kenzoku
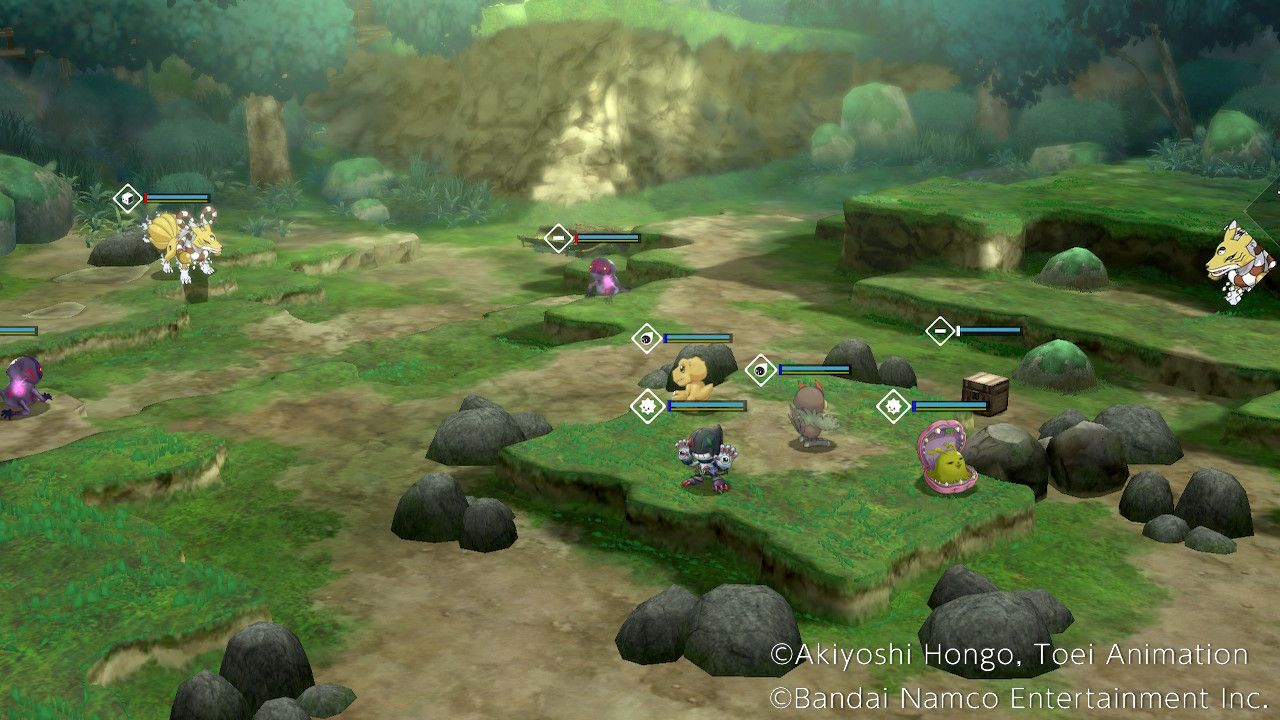
The Kenzoku in this whisper are stage 43 Champions with dazzling all-round stats. Their lowest stats are SPD and PHYS DEF, so gamers might well well absorb to mute spend physical attacks to injure them. They’re proof against fire and water but venerable to earth and their passive skill “World Stagnation” gives them of project to fracture their target’s guard when attacking. Their total assault affords physical water injure, and they might be able to spend the particular assault “Azure Coagulation” to hit a target interior 3 spaces with water injure and potentially freeze them.
The best possibility on this design is Kyubimon, a stage 40 Champion with extremely excessive SP ATK and no weaknesses. The handiest ingredient Kyubimon doesn’t face up to is Dusky, so Kaito and Dracmon might well well absorb to mute take grasp of point here. Kyubimon’s total assault affords Special Fire Damage, while her Dragon Wheel can hit any foe interior 3 spaces for fairly a good deal of particular fire injure while in most cases lowering their PHYS DEF and SP DEF by two ranks.
The chest subsequent to the event’s deployment point contains an Acceleration Price accent, while the chest below Kyubimon’s beginning space contains Hell Crusher. Sending Falcomon to take grasp of it after evolving to Crowmon for better mobility is a accurate name here, even though gamers desires to notice out of Kyubimon and the big quantities of injure they might be able to deal.
Evolving Agumon into Machinedramon and blasting Kyubimon with Infinity Cannon is perchance the correct skill of dealing injure to them since they are venerable to Dusky. Kaito and Dracmon are another assured offer of Dusky Damage at this point in the game, and might well well perchance positively be deployed throughout this fight.
Reaching the Library – Exploration
Renamon insists that handiest they desires to be the one to effect Miyuki, it is no longer necessary what, and then tells the team to “Have the option to Atone for your Sins” sooner than leaving for the library. This begins an exploration half.
Free Battle
Free Battles in this half of the chapter allow gamers to face off against Bluemeramon, Garudamon, Andromon, and Etemon.
Library
Entering the Library whisper, the Professor will demonstrate that it appears to be contemporary and undamaged, a principal distinction from all assorted constructions found as much as this point.
Reception
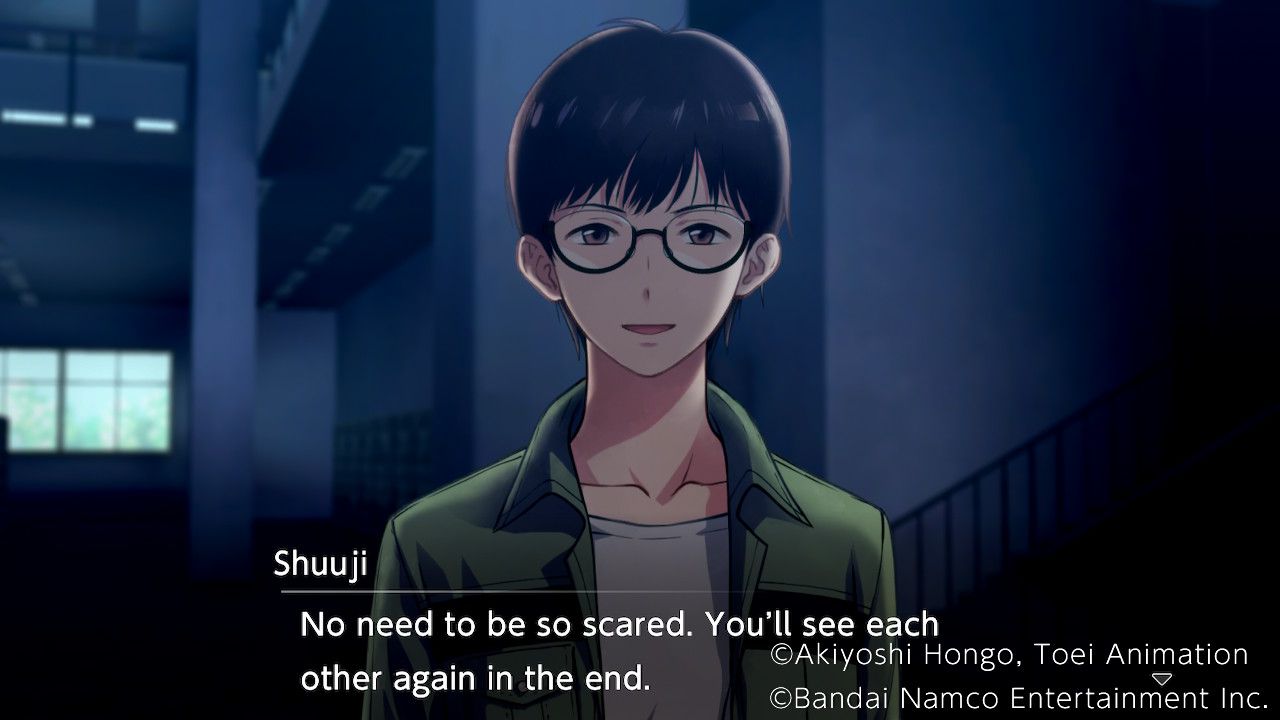
Within the reception whisper, the team encounters Shuuji and Ryo, who voice that they died because the team abandoned them and that the team might well well absorb to mute quit on residing and stroll into the fog. The others absorb mysteriously vanished, and the phrases of Shuuji and Ryo seem to solid a spell over Takuma, but Agumon is able to snap him out of it. Sadly, the team is mute separated and the doors main out of doors are mute locked.
During the Library – Exploration
Now trapped interior the Library, or no longer it’s time to salvage the others.
Free Battle
On this Free Battle effect apart gamers can face Numemon, Crowmon, Gigadramon, Fangmon, and Marinedevimon.
Reception
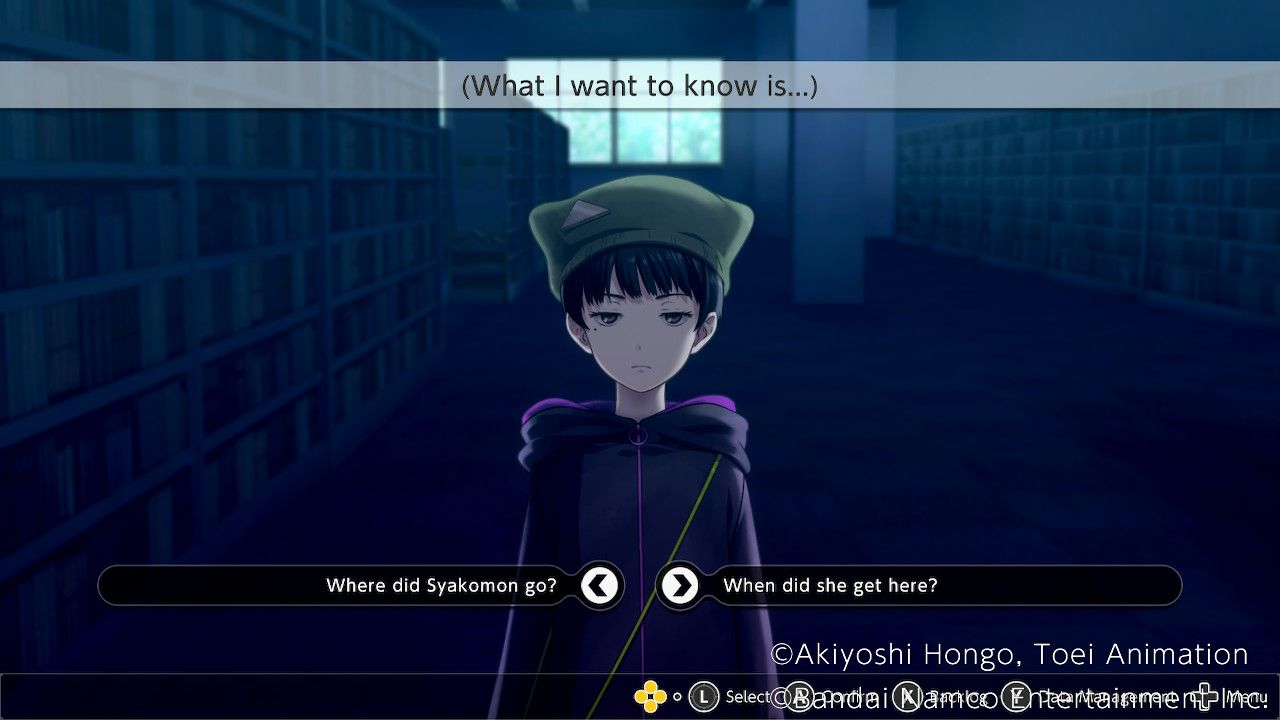
At the Reception Takuma can salvage Miu, Syakomon is missing and Takuma feels that one thing is off about this.
|
Where did Syakomon race? |
“Miu” is printed to be one in all the Grasp’s Monsters. |
|
When did she salvage here? |
“Miu” is printed to be one in all the Grasp’s Monsters. |
A fight then ensues with a lone Kenzoku. It is in particular at anguish of gentle and extremely resists unlit, and can continually damage its target’s guard when attacking. Avid gamers might well well absorb to mute head south from the deployment point and damage start a chest, then take grasp of out the Kenzoku (with gentle ingredient attacks if that that it’s seemingly you’ll well mediate of.) The chest contains a Beautiful Stamina Crystal.
After advancing in opposition to the lone Kenzoku, two more enemies will seem. A 2nd Kenzoku that’s at anguish of fire and a 1st Class Kenzoku that’s at anguish of water. Establish away with them each to withhold out the fight. The precise Miu is then located below the reception desk with Syakomon, unconscious. When they salvage up Takuma will proceed seeking the others. Irrespective of Miu announcing they aren’t able to amble around yet, She and Syakomon are now available to make spend of in fight again.
Bookshelves
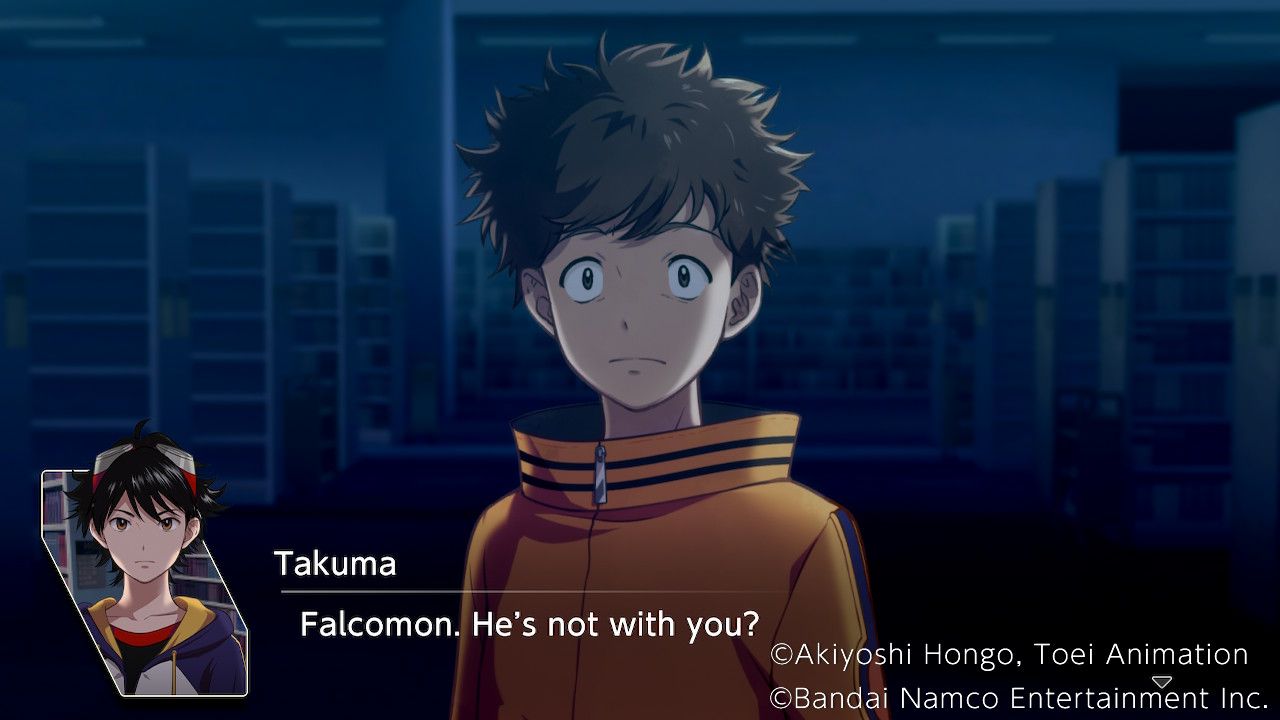
Arriving on the Bookshelves, Takuma will salvage Minoru standing on my own. Minoru claims that Falcomon wandered off on his beget, which doesn’t sound just correct to Takuma. Takuma snappy concludes that this is no longer the precise Minoru, and seemingly sufficient, a fight starts. There is a chest just correct ahead of the deployment point and loads of other Kenzoku to take care of. The first Class Kenzoku are at anguish of gentle and face up to unlit, the 2nd Class Kenzoku are at anguish of wind but face up to earth and water, and the third Class Kenzoku are extraordinarily at anguish of gentle but closely face up to unlit.
Avid gamers might well well absorb to mute race for the chest and take grasp of out the Kenzoku which shall be guarding that whisper first. Raise in Digimon with gentle and wind attacks to take care of the fight with ease. The chest contains a “Burst Flame” accent.
With the fight over, Takuma finds the precise Minoru and Falcomon on the reduction of a bookcase, and they are unlocked for spend in fight again.
Far Bookshelves
Within the Far Bookshelves whisper, Takuma can chat with Agumon about what to make subsequent. After finishing the Reception, Bookshelves, and Far Bookshelves events gamers will development into the 2nd half of the Library Exploration Piece.
Free Battle – Piece 2
After visiting all three areas once, the Free Battle will switch to permit encounters with Dokugumon, Arukenimon, Garudamon, Cyclonemon, Deltamon, Etemon, and Dobermon.
Reception, Bookshelves, and Far Bookshelves – Second Seek the advice of with
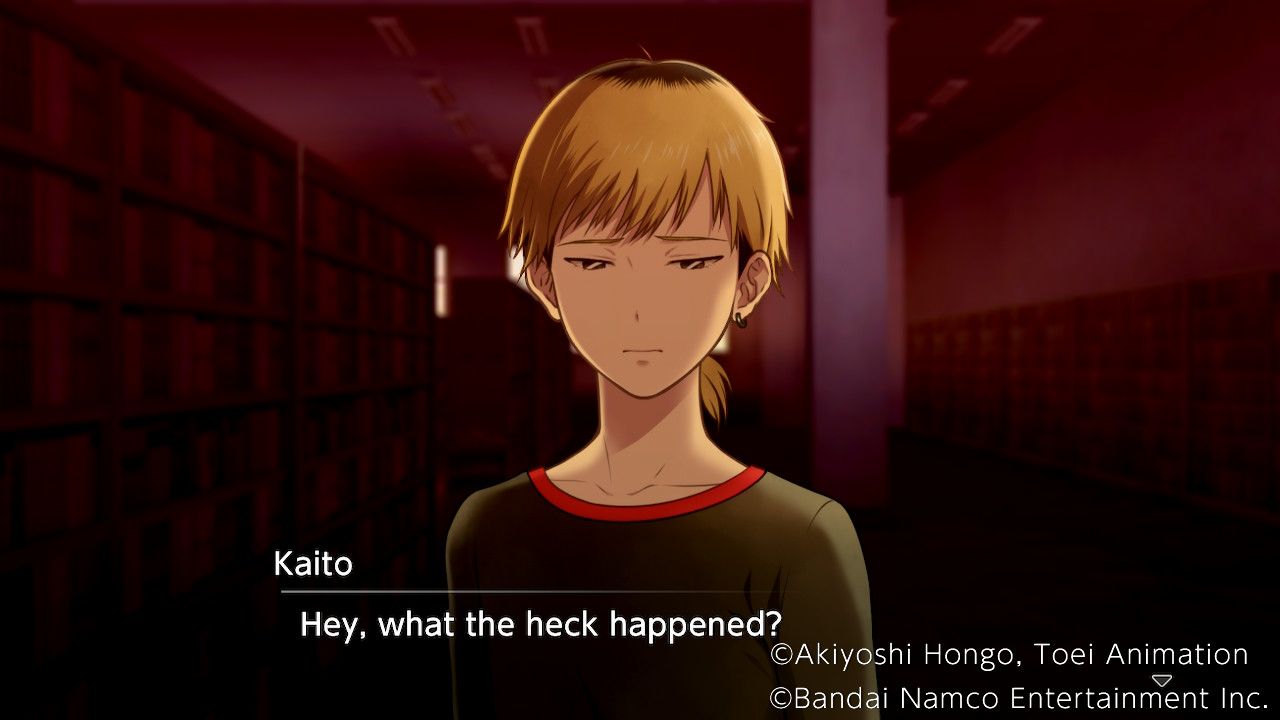
On a 2nd discuss over with to any effect apart after visiting all three once, Takuma will salvage Kaito. Bathed in creepy red gentle, the total whisper feels more harmful than ever. Kaito is acting surprisingly, as Takuma and Agumon demonstrate, main to a dialog replacement:
|
“Who Cares,” you grunt? |
“Kaito” is printed to be a spurious. |
|
You trust the visions? |
“Kaito” is printed to be a spurious. |
A fight with some Kenzoku then occurs. The first Class Kenzoku on this design are at anguish of wind, the 2nd Class Kenzoku are venerable to fire, and the third Class Kenzoku are very venerable to fire. The chest straight ahead through the design contains an Excellent Enlightenment slab, so gamers might well well absorb to mute prioritize that if they are attempting to absorb powerful allied Digimon. Take down the Kenzoku with wind and fireplace attacks to end the fight snappy.
With the fight over, Takuma and Agumon will salvage the precise Kaito, making him and Dracmon playable in fight again.
Finding the Professor
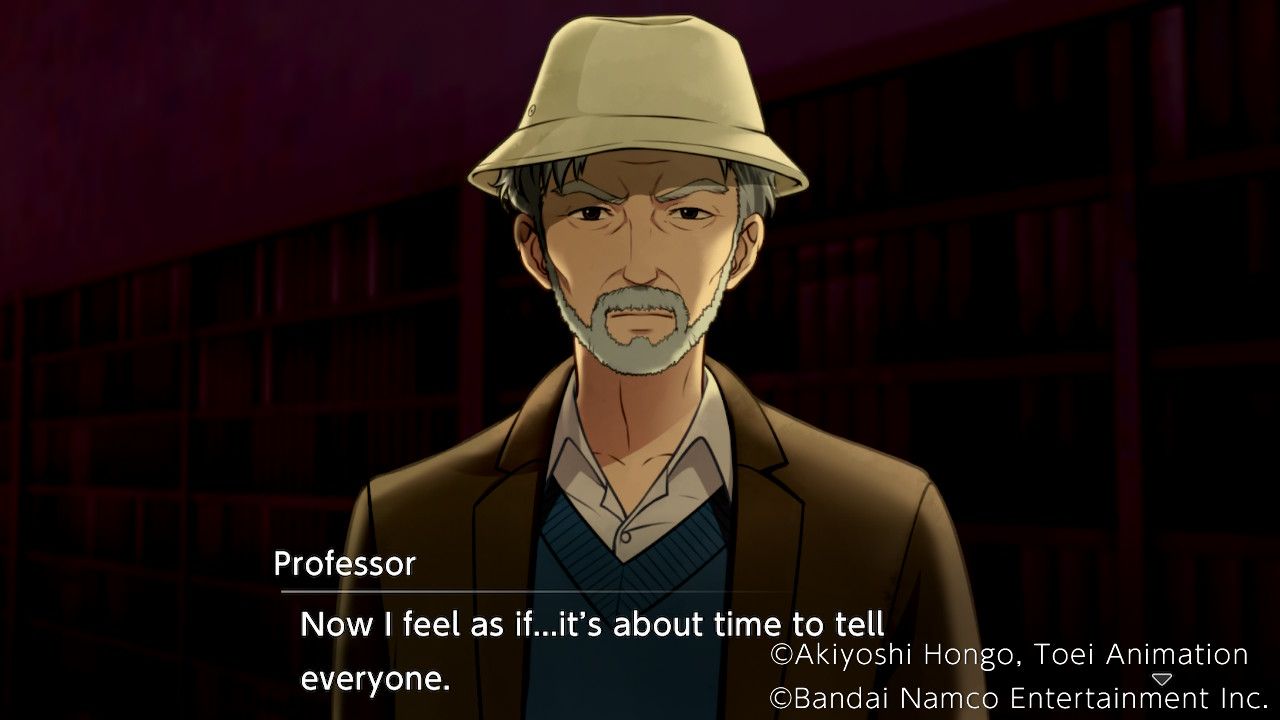
Return to any effect apart after finding Kaito to trigger dialog with Agumon and salvage the Professor. He will then account for all all over again that he’s Miyuki’s brother, Haru, no topic how unfamiliar it sounds. Takuma will then take grasp of into memoir whether or no longer telling the others about this just correct now is the finest switch:
|
Not only correct now. |
Appropriate +1 |
|
Fully. |
Cohesion +1 |
|
No Formula. |
Enraged +1 |
The Professor confirms that their recollections absorb fully returned and returns to the Reception with Takuma, where Kaito and Dracmon absorb managed to salvage Aoi and Labramon. Renamon will then strategy and point to their plan to commerce the team for Miyuki. Within the strategy, Renamon confirms that Miyuki is her human partner. Renamon explains the events of Haru and Miyuki’s discuss over with to the otherworld and the motive for taking Haru’s salvage.
Battle: Taomon and the Kenzoku
As the team affirms their resolve to are residing, Renamon begins another fight. Turning into Taomon, they are a in particular tough foe here. They face up to all parts but absorb the least resistance to gentle, and can spend their Talisman of Light assault to deal unlit injure and confuse their target. This, paired with their extremely excessive SP ATK stat, makes them extremely unpleasant to skill unprepared.
Loads of forms of Kenzoku seem in this fight, so gamers might well well absorb to mute assemble spend of the stat viewing characteristic to identify their particular person weaknesses and resistances. Since the total event is reduction together and gamers can additionally raise in three allied Digimon, the trick will seemingly be sending the finest of us to take care of the finest foes.
Avid gamers might well well absorb to mute launch by sending the more than a few partner Digimon as much as attain the chest on the finest aspect of the room, while Agumon and the allied Digimon development up the left aspect. Evolve as excessive as that that it’s seemingly you’ll well mediate of and strike the Kenzoku from the perimeters and from on the reduction of at any time when that that it’s seemingly you’ll well mediate of. More Kenzoku will spawn as the team advances upward.
Avid gamers might well well absorb to mute steer certain of getting too end to Taomon till the total team is able to switch in since Taomon can unleash unbelievable quantities of injure and is inclined to take grasp of out someone who gets too end if gamers assault unprepared.
Battle: Kenzoku Horde
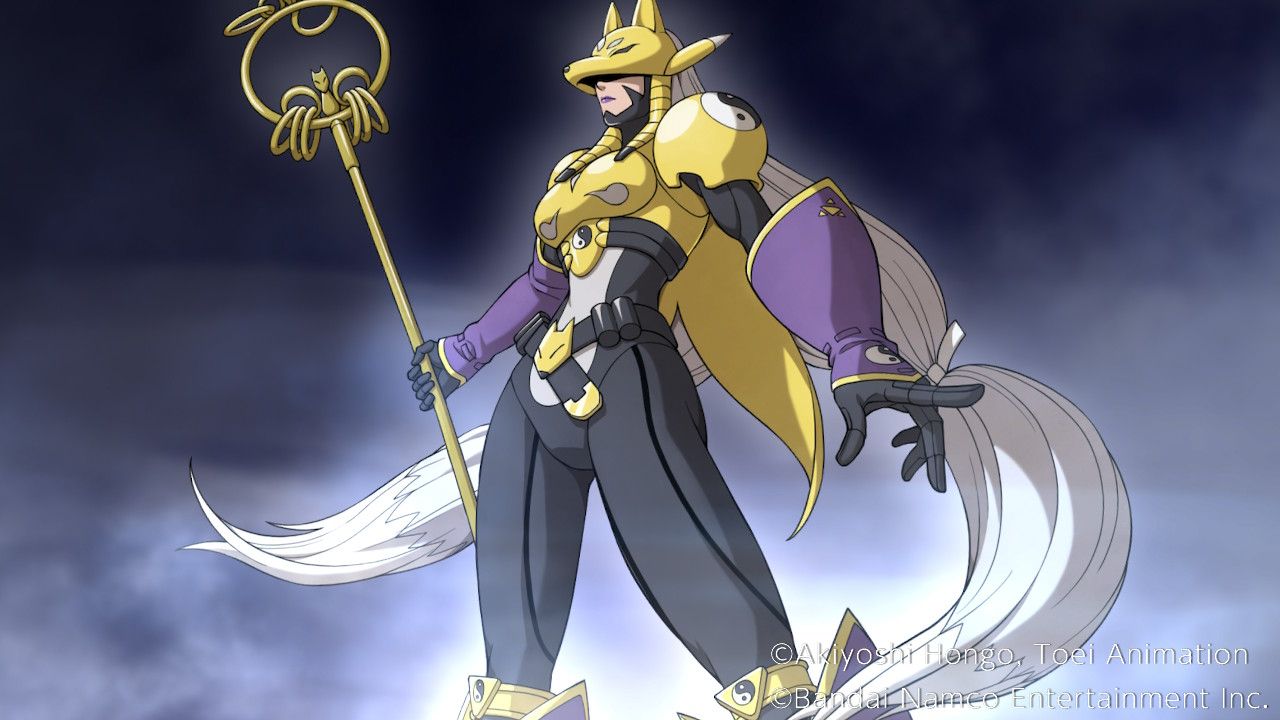
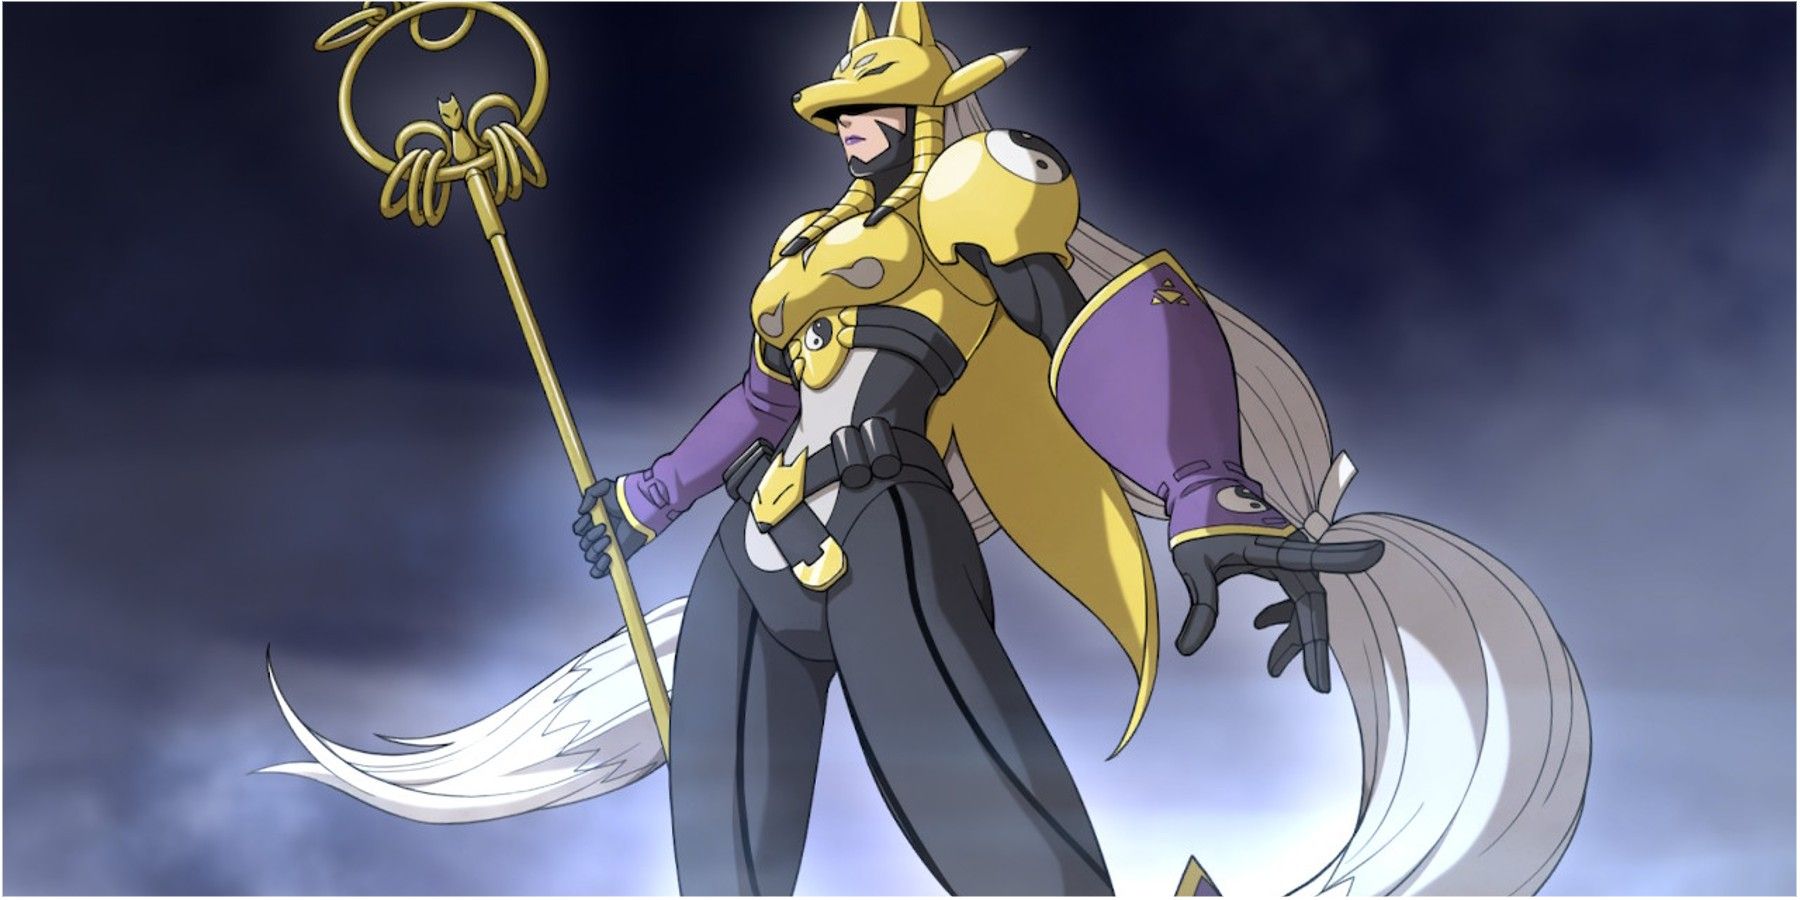
After beating Renamon, the Professor finally manages to salvage through to them and persuade them to affix forces with the team. Sadly, the Grasp chooses this moment to strategy and summon a horde of Kenzoku (Aoi appears to mute be hallucinating and sees them as more than one Sakis). A brand contemporary fight begins. Renamon manages to snappy attain Miyuki through the Grasp’s possession, gaining the strength to evolve extra. Sakuyamon joins the fight as a brand contemporary allied Digimon and gamers are able to deploy Agumon alongside three assorted Digimon.
Loads of of the Kenzoku on this design are at anguish of gentle injure, allowing gamers to make spend of Sakuyamon’s Amethyst Mandala to annihilate them. The few Kenzoku with out a weakness to gentle are at anguish of wind. The chest on the left a little bit ahead of the effect apart to start contains a Fear Wisp accent.
After reaching the tip of the whisper three more Kenzoku will spawn, all of whom are at anguish of earth injure. Wipe them out to withhold out the fight.
The Aftermath
Renamon unearths that the Grasp seeks to assault the Human World the usage of Miyuki’s energy. After a stirring speech from Kaito, Miu, Minoru, Takuma, and the Professor, Renamon agrees to affix the team and work together to rescue Miyuki. Sadly, Aoi has vanished in the confusion, seemingly mute suffering the aftermath of Renamon’s phantasm assault. The Chapter ends with Aoi, lost and on my own.
Digimon Continue to exist is accessible for PS4, PS5, PC, Xbox One, Xbox Series X/S, and Nintendo Switch.
MORE: Digimon Continue to exist: Total Recordsdata & Walkthrough